Thursday, November 27, 2014

Frozen Cranberry Salad/Dessert

Every Thanksgiving, I love to make an easy peasy frozen salad/dessert called: Frozen Cranberry Salad. Because of its pretty pink color, I've also made it for baby showers and it's always a hit! So I thought I would share it today since it is Thanksgiving.
As you can see there are not many ingredients. You'll need 1 lemon, 1 8oz can of crushed pineapple, 1 8oz carton of Cool Whip (thawed), 1 can of WHOLE berry cranberry sauce, 1 can of sweetened condensed milk, and 1/2 cup of chopped pecans (I forgot to add those to the picture above...oops!)

First of all, squeeze the whole lemon. I love this little juicer and I also have one of those nice ceramic handle type as well....but today I decided to use this one.
In a large mixing bowl, pour in the condensed milk and add the juice of the lemon. Stir well.
Next, add the can of WHOLE cranberry sauce. Continue mixing. This is where the pretty pink color comes into effect. 
Now you need to open the can of crushed pineapple and drain it well. I just open it and using the top of the can I squeeze the juice out into a bowl. You just discard this juice. It does NOT go into the salad. 
Next, you can take 1/2 cup of pecans and chop them to a course consistency (is that even a chef like phrase?!) I have a heavy metal pounder that I like to use. I put the pecans in a nice pile and pound gently away. 
Once, you've drained the pineapple and chopped the pecans, (....oh yea....you can just buy a small bag of chopped pecans....I just didn't have any and I found these pecans in my freezer.... most southern belles like me keep pecans in the freezer.) add them both to the mix and stir well.
Then, fold in the 8oz. carton of Cool Whip until you have just a nice pink mixture.
This is how it looks once you have everything mixed. I could honestly eat it like this!
Now it is time to put the salad in a 9 x 12 inch container and spread it evenly in the pan.....or you can also put the mixture in cupcake liners in a cupcake pan and freeze little individual salads. Then, put your salad in the freezer and freeze for at least 6-8 hours. 
Take the frozen salad out of the freezer right before you want to serve it. Cut it into squares using a spatula. 

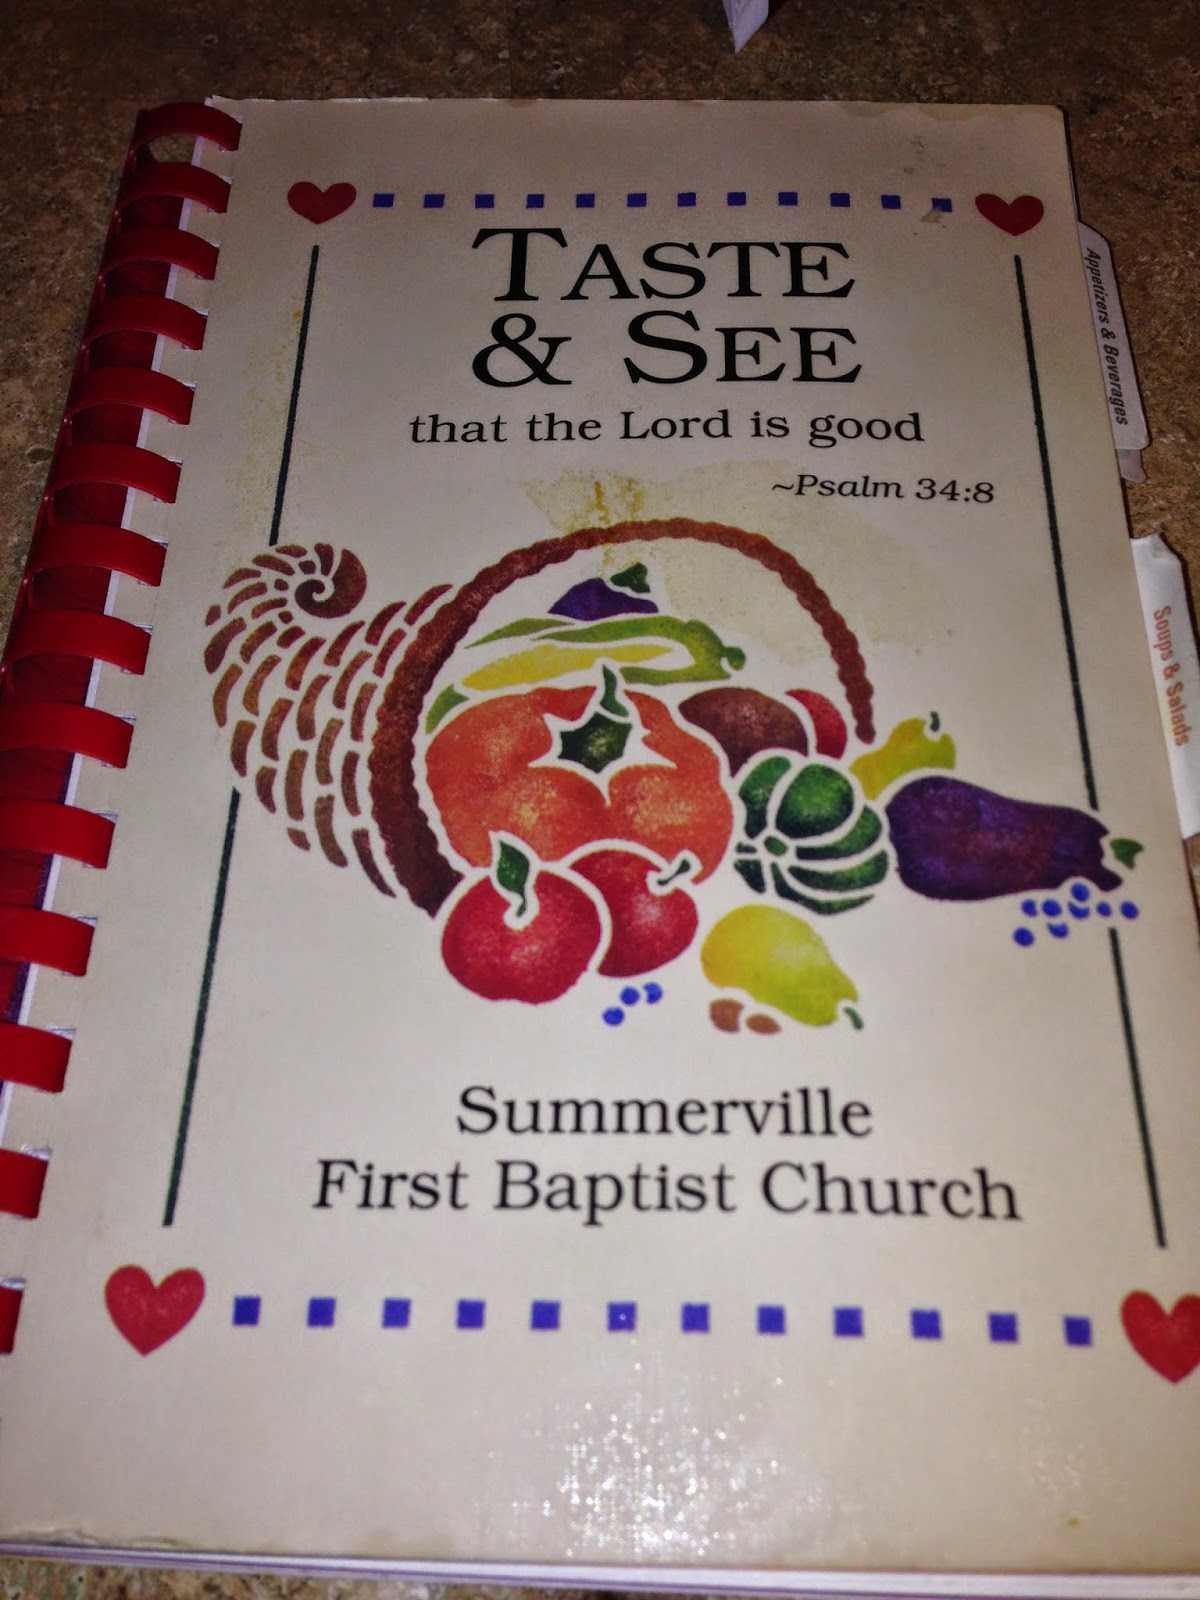
I've blogged before that I love to get recipes from church cookbooks and that is exactly where this one was found. This salad has been printed a few times in cookbooks from the town my husband is from.....Summerville, Georgia. The sweet lady who put it in this one died a couple of years ago, but I think it is soooo precious to see that one of her recipes lives on for other people to enjoy!
Now that I've written this post, I am wanting me some Cranberry Frozen Salad....I think I'll get some leftovers. God bless those leftovers!! 


Thursday, October 16, 2014

Anyone for Apple Dapple Cake?

In Georgia, there is an area around the Blue Ridge mountains that have the most wonderful apple orchards. Our favorite one in those parts (as my momma would say) is called Mercier's Orchards. We had the opportunity to go the first Saturday of October and as usual we had a great time!!
http://www.mercier-orchards.com/


These pics don't give this place justice....I really need to buy me a nice camera if I'm going to keep up with my blogging....anyway, if you click the first pic, it will take you to Mercier's Orchards website.
Once you're there, you take a tractor tour to get to the orchard area. Before you go on the tour you buy a bag to put your apples in after you pick them. Now one of the funnest parts is that you can taste apples all along the orchard as you decide which ones you want to pick!! For a teacher like me and apples lovers like my husband and granddaughter, that is such pure fun!! Even though we ate plenty of apples that afternoon, we also picked a lot to take home. Well, I could go on and on about the wonderful walk we had along the orchards, the yummy fried apple pies they have, and that we never can leave from there without getting an apple cider slushy.....yes in Georgia....it's just too dang hot for hot cider that weekend!!, but that is really not the main idea of this post. This post is all about a cake I love to bake this time of year.
 How many of you have one of your favorite recipes written on a scratch piece of paper or on a post it note like this one? Yep! Me too...as you can see!!
That recipe is one I always use when we get back from apple picking! It's called, Apple Dapple Cake!
I just love the title of it! Don't you?
My near and dear friend, Libby, gave me the recipe a while back after I had some of her cake. I'm not sure where she got it. But she wrote it out for me on that paper and I've had it ever since!!
Here is the end product:
https://docs.google.com/file/d/0Bw0zFhhGUdd6VlVndXNoYVpwcTQ/edit
Click the pic for the recipe!
Here are a few pics of the process. The most difficult part is just the dicing of the apples. But what is cool about the cake, is that you can use any kind of apple you have on hand. 

 I have an apple corer that usually works really well! It really beats peeling and coring apples with a knife! I promise it is not that difficult to use!!


After I peel and core my apples I just dice them up on a cutting board. 
 As you begin to mix it, it gets really thick, so I just have to switch to a heavy duty spatula and mix by hand!!
 I just spoon the batter in my bundt pan. I've had this stone pan for years!! It bakes perfect pound cakes and apple dapple cakes every time!!
 This is the glaze in progress. When I reread the recipe, I realized I used too much butter, but it was still tasty!
The cake is out of the oven! It smelled so good! I took a knife and went around the inside and outside edges and then turned it onto a cake plate. 
Next, my "apple of my eye" hubby poked holes in the cake. We use a fondue fork. You can use whatever you think can make small holes all the way through your cake. 
 Here, we are pouring on the glaze. This is when I wondered if I had used too much butter. It actually started running over onto the table. Yikes!!

The recipe says to cool for 2 hours.....Are you kidding me?!?! There is no way that we could do that!! We went ahead and cut a slice for each of us!!


A nice cup of coffee really compliments this!! Oh yea! I went ahead and poured a little glaze on the slice that I cut. Yummy!!
Happy fall, ya'll!! 
Linda G. :)

Saturday, August 23, 2014

Christmas Word on the Head Game


 Dan and I LOVE to play games. We get called upon a few times a year to make up a game to play for different choir and children's events. We enjoy looking for games on Pinterest and Google. Then we kind of think of a way to make it our own. One thing that usually makes our games a hit is by making something goofy for the participants to wear while they play the game. Dan LOVES to create things all the time! I have to say, he is really quite good at it. A couple of weeks ago, we were asked nicely to create a game for a choir event we had this past Wednesday night. After a little thinking on things we came up with a game we called: Christmas Heads Up. I know.....we really should have thought up a better name, but it was the best we could do. Here is what you need for the game:
1. Think or buy some kind of Christmas item that can be put on someone's head. Now Dan made the Christmas tree you see above. It is just made out of styrofoam, that he cut out using an Exacto knife, acrylic paint, and we stuck 2 Christmas ornaments on it to look like earrings. I personally think it is hilarious.
2. Then, think of different Christmas words and print them on index cards.  If you click the pic below you can download and print the words we used. I also created some blank pages so you can print those and write other words you may want to use. I would print it on Christmas colored cardstock paper. But as you can see, we just used white paper.

3. You need a participant, someone to keep time, a person to keep up with how many words were guessed correctly, and someone who can tape the words on the person's hat. Oh yeah....you need a group to give hints for the words.
Here is how you play the game:
1. Choose someone to be the participant. Put the Christmas themed hat on his/her head and tape one of the words to the hat without that person seeing the word.
2.. The audience or team gives a 1 word hint about the word and the person has to guess the word.(For instance: the word might be presents. A person could give a hint of "gifts".  He/she can try to guess the word and if he/she gets it right, you quickly tape another word on the hat. You can give them 1 minute to guess as many words as possible. We already had tape on each word and as a word was guessed, we would be right beside him/her and we quickly taped the next word on the hat after a word was guessed correctly.
5. The person with the most words guessed correctly wins.
6. Now, our rule was you could not use hand motions to help. They could only use 1 word hints. But you can do whatever you want to. Below is a picture of our participants and the hats we used.

Do you have any fun clean games that are fun for a party? I would love to hear from you! I'm always looking for great games to play.
Merry Christmas!! (Well...it will be here before you know it! )
Linda G. 

Wednesday, July 23, 2014

10 Important Things to Remember When Planning Your Wedding


Ok....now you may not know this, but I'm the wedding coordinator/director for my church. I've been one for almost 9 years now. Also, in 2012 my daughter had a gorgeous outdoor garden wedding and 5 weeks later my son had a beautiful church wedding. So I feel my credentials are pretty good at being wise when it comes to weddings. As I was driving to an outdoor wedding this past weekend, I thought about some things that might help brides when they are trying to make certain decisions about their weddings.
Here goes:
1. If you have your heart set on having an outdoor wedding, be prepared for rain. Don't just think that there is no way that can happen to you, because it can! I even had a bride one time figure her date out by looking at the almanac and finding the Saturday in June that had the least rainy days and it STILL rained on her wedding day. Now y'all I'm not talking just a sprinkle, I'm talking raining cats and dogs!! My heart broke for this girl. So make sure you have another place to have your wedding for plan B. I know for my daughter's wedding, one reason why we chose this particular venue was due to the space available in case of rain. It was right next to the garden and it was a nice pavilion where the landscape was just as pretty. So we knew it would be easy to switch everything over there just in case it rained.
2. If you live in the south and you want to have an outdoor wedding, do it in October. It is the driest month of the year and it is so much cooler! I think that October needs to be the new June for southern weddings.
3. Start your wedding on time. Y'all.....be considerate and remember that your guests don't want to have to sit for a long time to wait on a wedding to begin. I try to always make sure the wedding begins right on time. There may be a 5 minute lapse there, but I just think it is important to start on time!! There was one wedding I directed when a bride didn't arrive at our church until 1 1/2 hours after the wedding was supposed to begin. Her guests, and the officiants were very upset and needless to say so was I. I could not get her to answer her phone and I was getting worried!! She just wasn't ready. That is not cool!! Another wedding that I attended was outside by a lake in July. The bride did not walk down the aisle until 40 minutes after the wedding was to begin. There were coats and ties coming off all around us because of the heat and humidity. That also caused a lot of guests to leave early because they had become so uncomfortable before the event even began.
4. If you are having dinner and dancing, be prepared for 80% of guests to be there. I have never been wrong on this one....therefore, trust me!!
5. Be prepared for invited guests to add other guests to their RSVP. I didn't know that people did this until my daughter's wedding. Oh my goodness!! People will just add names to the response card. I don't think a lot of people truly know how much each of those people cost when it comes to a wedding!! So be ready for that.
6. Don't buy more wedding cake than you truly need. I have seen soooooo much wedding cake wasted at a wedding. If you are having a dinner, people tend to not eat a lot of wedding cake. So only buy enough cake to feed no more than 75% of your guests that you know are coming.
7. If you can't help it and you are SO AFRAID that you will run out of cake then, think about buying small plastic containers for your guests to carry a slice of cake home with them. That way you won't have as much cake left over and people can enjoy it when they get home or on the next day.We had cute cupcake carriers for my daughter's wedding and it was wonderful!
8. On your wedding day, have duct tape. Yes duct tape! Clear duct tape is the best! It can do so much to help last minute needs!! I have even repaired a flower girl's dress at the last minute with duct tape and no one even noticed! Trust me, it looked good and not tacky!
9. During your wedding day, make sure that everyone involved in the ceremony are well hydrated throughout the day. Keep bottled water handy and possibly fruit, crackers and cheese are a good idea, too! A very long time ago, I had a groomsmen who fainted during the ceremony. It was due to not having enough water in his system. So make sure they drink water!!
10. Be prepared that everything won't be perfect!! This day is so important and hopefully will be the only one you'll have, so know that there will be little mishaps that can be laughed about later.

Well I have about 5 more weddings to direct before the end of the year and I'm sure there will be more things I will need to remember to help make the wedding better. But for now, I hope these 10 things will help you on your special day!!
God bless!


Friday, June 27, 2014

Best Way to Cover Your Classroom Door with Butcher Paper

Being a teacher for several years now, I've covered many classroom doors in butcher paper. The picture above shows a door from 2012 when our VBS theme was New York. That door is supposed to be an apple. Now that I'm looking at it, I'm seeing a butterfly shape but that is not the main idea of this post LOL! Well......today, I'm going to post step by step how to cover a door. When you put some type of art around the door, the hardest part is just getting the door itself covered so here goes.
Supplies that you will need:

A good pair of scissors 
Clear Packing Tape (this is essential if you plan on keeping your door up for awhile!)
You will also need a child's classroom chair small stepladder
Step 1: Measuring your butcher paper: Most butcher paper is the width of a typical classroom door. Thank goodness!! So you will need to only measure the length for your door and then add about 20 to 24 inches to that. Choose the color paper you are using and cut the length that you need.

Step 2: Placing and taping the paper to the door: This requires a little help and a child's chair step ladder to do. Open the door and place the paper over the front of the door and leave 10-12 inches hanging off the back and 10-12 inches on the bottom. While someone is holding the TOP of the paper taunt for you, from the back: thread or pull the bottom of the paper from under the door and fold the paper neatly across the bottom and pull up and make sure the paper is taunt along the bottom as well. If it isn't, it may wrinkle on the front. Then, if the paper looks nice and smooth from the front: tape along the bottom edge of where your paper ends on the bottom of the back of the door. Then fold the top edge across the back of the door just right above the door window and tape along the top edge of where your paper ends on the top of the back of the door.
The picture above shows the paper after it has been taped. This picture below shows the bottom of the paper right after I threaded through to the back of the door.

Step 3: Taping the sides: Now that you have the top and bottom of the paper taped to the door, it is time to tape the sides. This part is very important because if you don't have the sides taped, when you open and close the door, the paper will tear most every time the door opens and closes.
You should have a tiny bit of paper overlapping the sides of the door. Using the strips of packing tape, tape along the side making sure that the tape has stuck onto the paper and the side of the door.
Here is a picture showing what I'm talking about:

Take this part slow and easy. You will do both sides of the door this way all the way down. Make sure that the tape is overlapping so you basically have tape coming down the sides of the door. Notice how the tape is doing that....it is all shiny (from the tape) down the side. As you get to the top ( and bottom), fold the top edge (and bottom edge)  of the paper like you would when wrapping a present (does anybody do that anymore?!?) . Where you have some paper from the back, you will need to tape the sides of that as well.

Step 4: Cutting a hole for the door handle: This way will work for any type of door handle or knob. As you can see, you have covered up the door handle. Oh no!! What are you to do?!? Easy!! Using your scissors cut some diagonal lines creating triangles that have not been cut apart yet along the paper that is over the handle. Study these pictures carefully to see what I mean.

Notice the line to the left is longer than the others so the handle can come through easily. Next, tape all along the lines to reinforce this area. That way, the lines you cut will not get larger.

Step 5: Creating a opening for the door window Due to fire code and safety regulations, the window to your door cannot be covered, so you have to make an opening there. This is how I do it to make it look nice and neat. In the center of that window area (you have to feel it with your hands, you can see it right now because it is covered by paper) begin to cut lines from the center to the top and bottom of the window frame and then a diagonal line to the top and bottom corners of the window. Here is a picture that shows that:
Next, begin folding the paper under each side of the window frame. See how I'm doing that in these pictures:

After you have done that, to reinforce the area, you can tape along the sides with your packing tape. I try not to get any tape on the glass, because I think that doesn't look as neat.
Here is a picture of how the window looks when it is complete:

Step 6: Admiring your hard work  Finally, you should be done. However, open and close your door and if you hear any scratching sounds, that means you haven't tape the edges around your door completely and that may tear your paper. So then go along and find where you may have missed some spots and tape along those areas. Now you are ready to complete the display on your door.
There are some pretty elaborate door displays out there in teacher land! It amazes me how talented teachers are!!
Here is a picture of a completed door before the display has been added around it:

Hope this post helps those of you who have wanted to do this but just didn't know the best way how. I have covered my doors for VBS for a few years now and this is the best way I have found. I also cover my classroom door and make a display that usually lasts all year.

Let me know about some displays you have put on your door at VBS or your classroom. I would absolutely love to hear from you!!
God bless you!
Linda
Thursday, June 26, 2014

Award Winning Homemade Banana Split Ice Cream

I Scream
You Scream
We all scream
For My Award Winning Ice Cream!

Banana Split

I'm sure that many of you are always looking for yummy homemade ice cream recipes. Well today, I have got one for YOU! I have made this ice cream for years now. It came from an old southern church cookbook. Anyone know that kind of cookbook I'm talking about? The kind that have some of the best recipes ever that you could just slap your momma over?!?! Well, even though I am a big "get my recipes off the internet" person, I still keep my church cookbooks handy. A lot of times when my kids come to visit and I'm cooking for them, I usually need a recipe from one of these cookbooks that my kids have requested me to cook.
Here is a pic of the cookbook....I have used it so much that the cover is off of it.


Notice the bent pages and wore out look! I think this came out around 1985.  Ancient...right?!? 

Here is a pic of the actual recipe: 
Can you see the droplets of vanilla flavoring on the page? I guess I may be a little messy when I cook. I think you can see the ingredients and directions pretty well, so I won't post all of that. However, instead of RealLemon brand juice, I like to squeeze fresh lemon juice instead.

Ok now I can call this award winning because last night my super marvelous husband took this ice cream to a function at my church (I didn't get to go because I was trying to get on an airplane to fly to Wales to go on a mission trip, but because of airplane problems, I had to get off and come on back home....anyhow, it's all good and I need to get back to the ice cream) and out of 20 different homemade ice creams, this banana split ice cream took DRUMROLL PLEASE!! FIRST PLACE!! So I thought I would share it with you today. 
Now I do have to be honest. It is not cheap. Buying all that fruit and the dairy products is costly, but sometimes good and yummy items just are. One good thing is that it freezes very quickly! I don't know if it is because of the frozen strawberries or what!? So treat yourself and go get these ingredients and try it out! You won't regret it! You may even win a contest yourself!