Well right now, I have the theme song from this year's VBS in my head and I just can't get it out!! It will probably be stuck there for a couple of days now that we finished up Agency D3 VBS 2014. I wanted to post some of things we did this week. I'm really wanting to help those of you who haven't had your VBS this summer and you are still filling in some gaps that you have with your decorations and/or activities. I hope this post today will help you!! I'll post about some of the activities tomorrow.
I came into this Agency D3 theme really feeling reluctant about it. Thinking...."How am I going to make this all work?" I'm not really a secret agent kind of girl. However, I had my confidence in the Lord and knew that Lifeway really puts out some top quality material, so as I
DISCOVERED more about it and
DECIDED to get with it and try to make it great for my 2nd grade, I was able to learn more about how to
DEFEND my faith!! Everyday truly blessed my heart and it was a lot of fun!
Now to the decorations!! I believe that the decorations make the area more inviting for the kids. The decor gets the kids excited! Not only are the decorations there to spruce things up, I decide how to use them to help us with the organization of our class.
Our group is fortunate enough to have a hall where almost anything we hang on it looks inviting. I posted this pic last week, but here it is again:
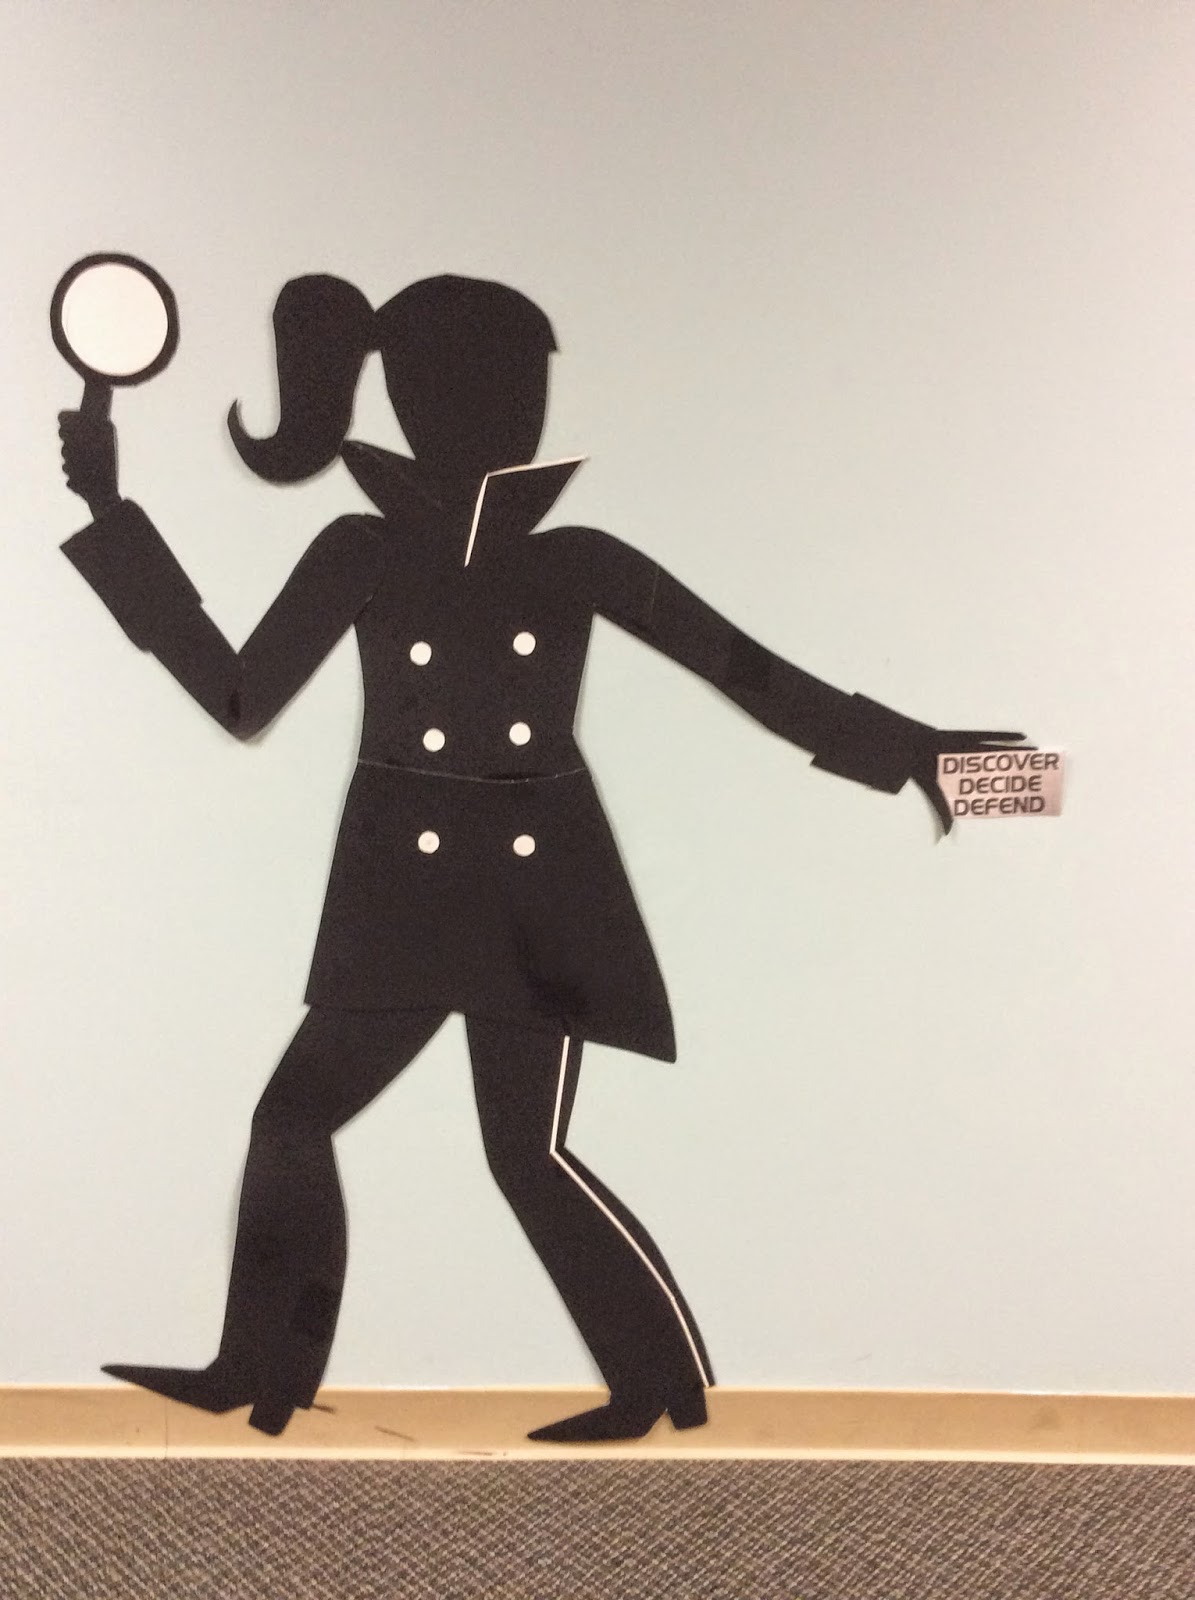
My post from last week describes how my husband created the vault door and the silhouettes. Now, another reason I use these is to place a sign above each one with the area the kids are going to after our Bible story and activity time. When I call out their names and their place to go, they know to line up in front of the correct silhouette. Here is a pic of that:
These kiddos are ready to go to art!
These kiddos are waiting patiently for someone to take them to volleyball.
 |
| Notice the child trying to pose like the silhouette! We saw many kids doing that a lot this week. |
Now for the inside of the room. We were planning for around 50 special agents to enter our classroom (we actually ended up only having between 31-33 wonderful kiddos through the week). It is a HUGE space that gives us an area for Bible study, 4 areas to break out in small groups, and the center area is used for special snack time and our craft time.
We hung different colored manilla folders with the clip art from the Decorating Made Easy Book. glued on them. You can get the manilla folders for $4.67 at Walmart. For our 4 small groups, we made foot prints in 4 different colors and grouped the kiddos by color groups. We connected the footprints with black footprints inbetween the colored ones.
We just covered the bulletin boards in black, so that way we didn't have to remove what was already on them from Sunday School. I had posters made at Staples from the Lifeway clip art. I just stapled them on and one of my leaders put the footprints you can purchase from Lifeway underneath them. BTW- the posters along the middle of the wall are from Sunday School so those remained up on the wall. Notice that we used banker boxes for our supply boxes when we were in small groups.
Here is a close up of the files. I would share the clip art for them, but that is copyrighted by Lifeway.
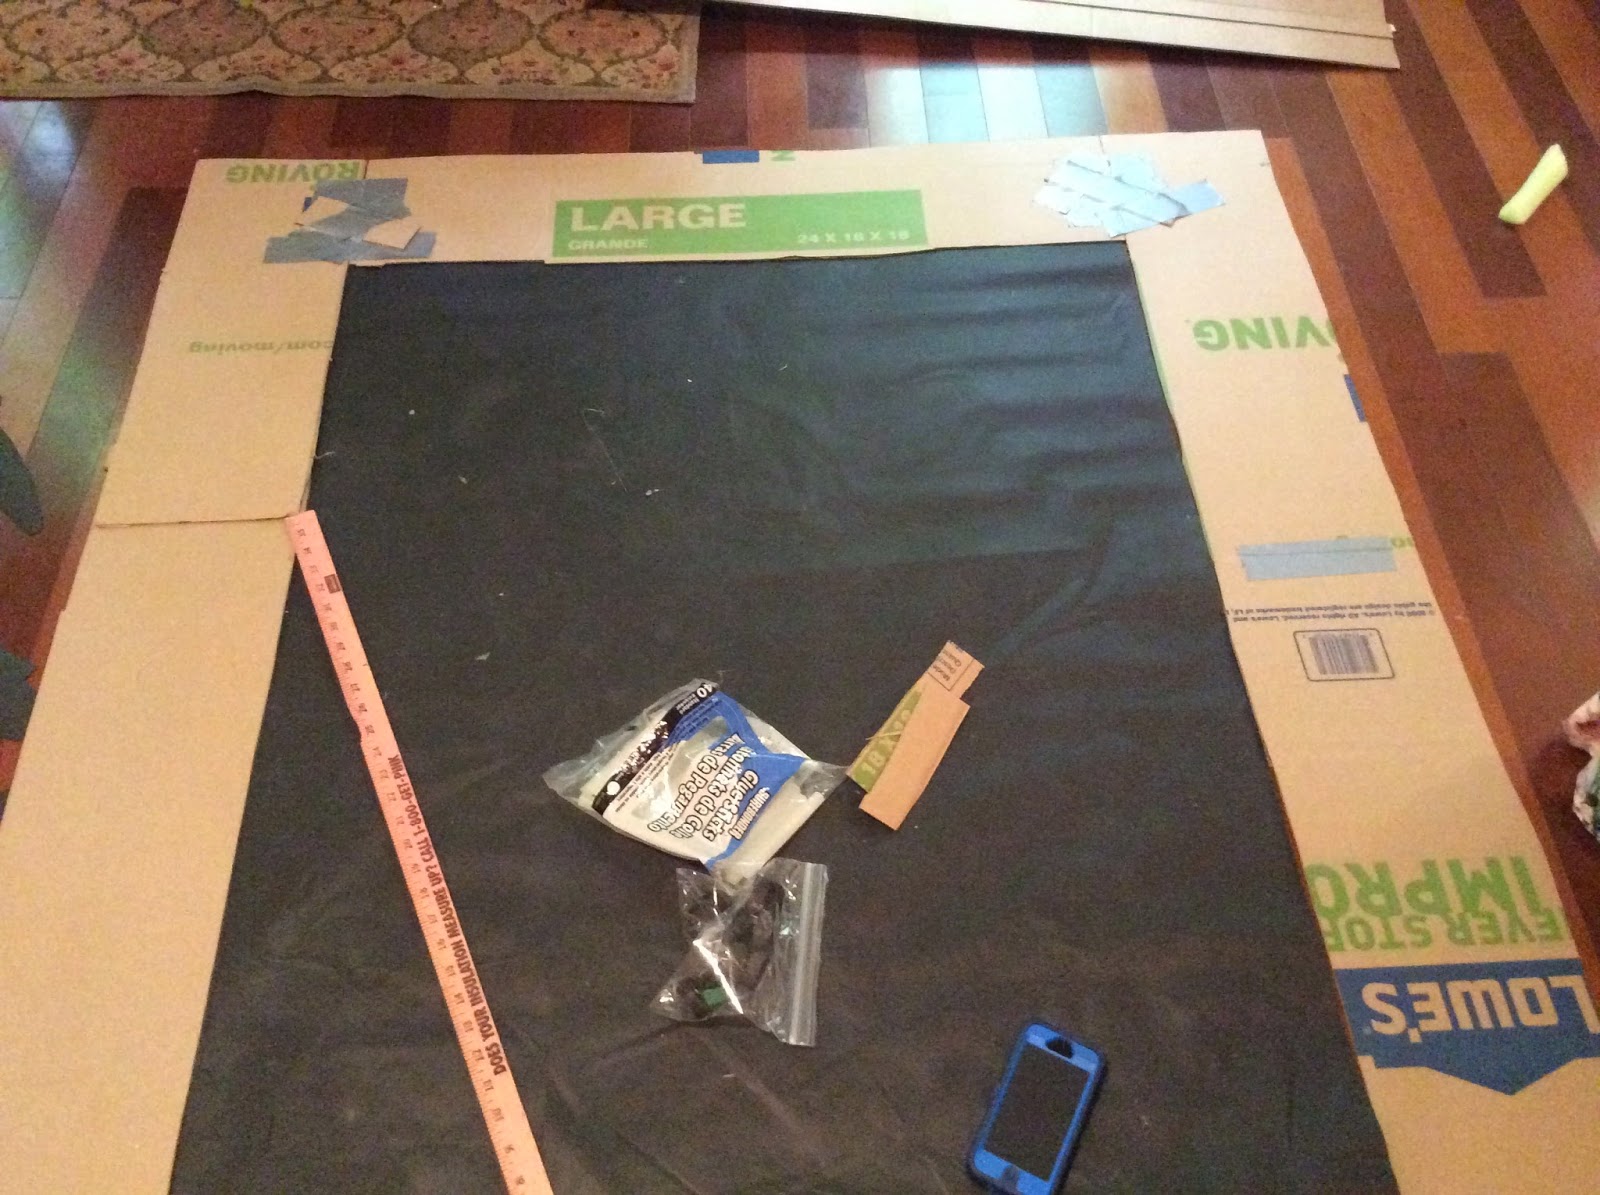
OK now I bet you are wondering how we did the Agency D3 backdrop. Well...... we took 5 sheets of gray butcher paper (that was as many sheets as we needed to cover that side of the wall in our room) and measured it to match the height of the wall. Before we began drawing, we turned the panels face down, then, we lined the panels up side by side and overlapped them slightly. We taped the seams with masking tape. After we taped the seams on all 5 panels. We turned over this HUGE piece and using glue sticks, we glued the seam down on the front. It is REALLY easy to do this. We had about 5 people helping us and we were able to do this part in about 30 minutes. Once the panels became one big canvas, we began sketching out the design.
Click this pic to get the sketching part of the background pic. You can sketch beginning from any panel.
Here are a few pics of my awesome group of leaders helping with the painting. I bet you are wondering how long this all took. We sketched it all with pencils, the Friday before VBS began and it took us a couple of hours. We came back on Saturday morning and there were about 5-6 of us (2 of these people were 9 and 10 year olds) painting it (...by the way.....we used white tempera paint with foam brushes and art type paint brushes.......) and we were done in less than 1 hour. The time spent was worth it and we had great fun!!.....we REALLY did!!
When we sketched using the pencils, we just kept thinking in geometric shapes and lines. The above pic, you can see the seam of the panel.
On the opposite corner of the painted backdrop, we just hung gray butcher paper and one of my team leaders taped the posters that were going to be used during the week:
This is my precious....grabs my heart all the time.....granddaughter. The hat is from Party City 99 cents. Well worth the price!! :)
You may have noticed that we trim our large windows (I love these windows) with gray paper and black dots to just continue with that vault look theme.
Whew!! I'm just exhausted explaining all of this, but it really didn't take that long to make this work. It was well worth the effort and the kids loved it!!
I don't want to end this post without showing you the awesome pics of what my husband did for the entrance to our worship rally part at our church. He incorporated the silhouettes (these were all made from black butcher paper) in that area. He made a spy type entrance way, and please check out the security checkpoint!! These items were all made from a box, PVC pipes and pool noodles. BTW- Lowes and Dollar Tree adore my husband!! :) We had the banner made at Staples.With all the posters and the banner we had made, Staples loves to see me enter their store as well!! :)
Ok I have ONE more thing to share.....I know this is almost too much blogging for 1 person to enjoy; however.......I've mentioned before how much I enjoy using Mavalous tape. I'm telling you this is the tape to use to make sure your "stuff" on the walls stay and you don't mess up the walls. Well....my fearless leaders gave me a gift today:
They gave me 2 rolls of Mavalus tape(these were $3.99 each...one package still had the price tag on it. LOL) and from my favorite coffee place EVER.....a Dunkin Donuts
gift card!! That meant so much to me, but then I opened the card and this is what I saw:
I could in no way in the whole wide world do VBS the way I do it without my 3 teachers and their children who help us all week as well. Of course, my husband does soooooo much as well. So to end this post, I have to show a pic of my VBS buds as I lovingly call them. I hope you have some VBS buds to help you as well!!