Showing posts with label Vacation Bible School. Show all posts
Saturday, June 21, 2014

VBS 2014: Agency D3 OK Everything is Decorated...Now WHAT?!?!


Well, I have posted twice these past 2 weeks concerning all the decorating we did to get our area ready for Agency D3, but now you may need some ideas for what goes on during your week. Now, of course, getting the leader guide packets for your teaching will help you have a great week for your VBS. The leader guide is filled with great activities and games to get your VBS Kiddos excited about learning more about Jesus as they pretend to be secret agents. Notice the cutest agent EVER in the above picture.... my granddaughter, Jaden!!
At my church, there is not a mission, snack and craft rotation that most of the churches are accustomed to do. After the awesome kids are in our room for 1 hour, they go to something our children's ministry calls "Track Time". When the child has registered for VBS he/she chooses a "Track" that he/she will attend all week for 1 hour. The choices are: missions, music, art, volleyball, basketball, soccer, outdoor games. They go to the same track all week. While they are there, they all receive a packaged snack and a bottle of water. They come back to us after that hour for about 30 minutes before we go back to our Mission Rally to be dismissed.
Here is a pic of some of my VBS kiddos waiting to go to a track:
They are waiting with smiles on their faces to go to music.

Well, now because all the kids don't go to a craft rotation, I really enjoy having them participate in a craft time twice during the week. Now......have you ever heard of Guildcraft arts and crafts? Ok for a Christian based crafts company, I feel that they are the BEST!! If you get on their email list, they will send a Friday Freebie printable that you can use. Whenever I have ordered from Guildcraft, I receive my package very quickly!! Click the pic below and you can see all the awesome things this company has to offer.
https://www.guildcraftinc.com/

So here are the 2 crafts I chose to do with my group:
https://www.guildcraftinc.com/Defend-Leather-Bracelets.aspx

We did these bracelets the 3rd day of VBS. These bracelets are very high quality and the kids loved putting them together! Click the pic above and it will take you to the ordering section for these bracelets. 
https://www.guildcraftinc.com/Desk-Pencil-Holders.aspx
 Click the pencil holder pic above to get to the ordering section for the holders.
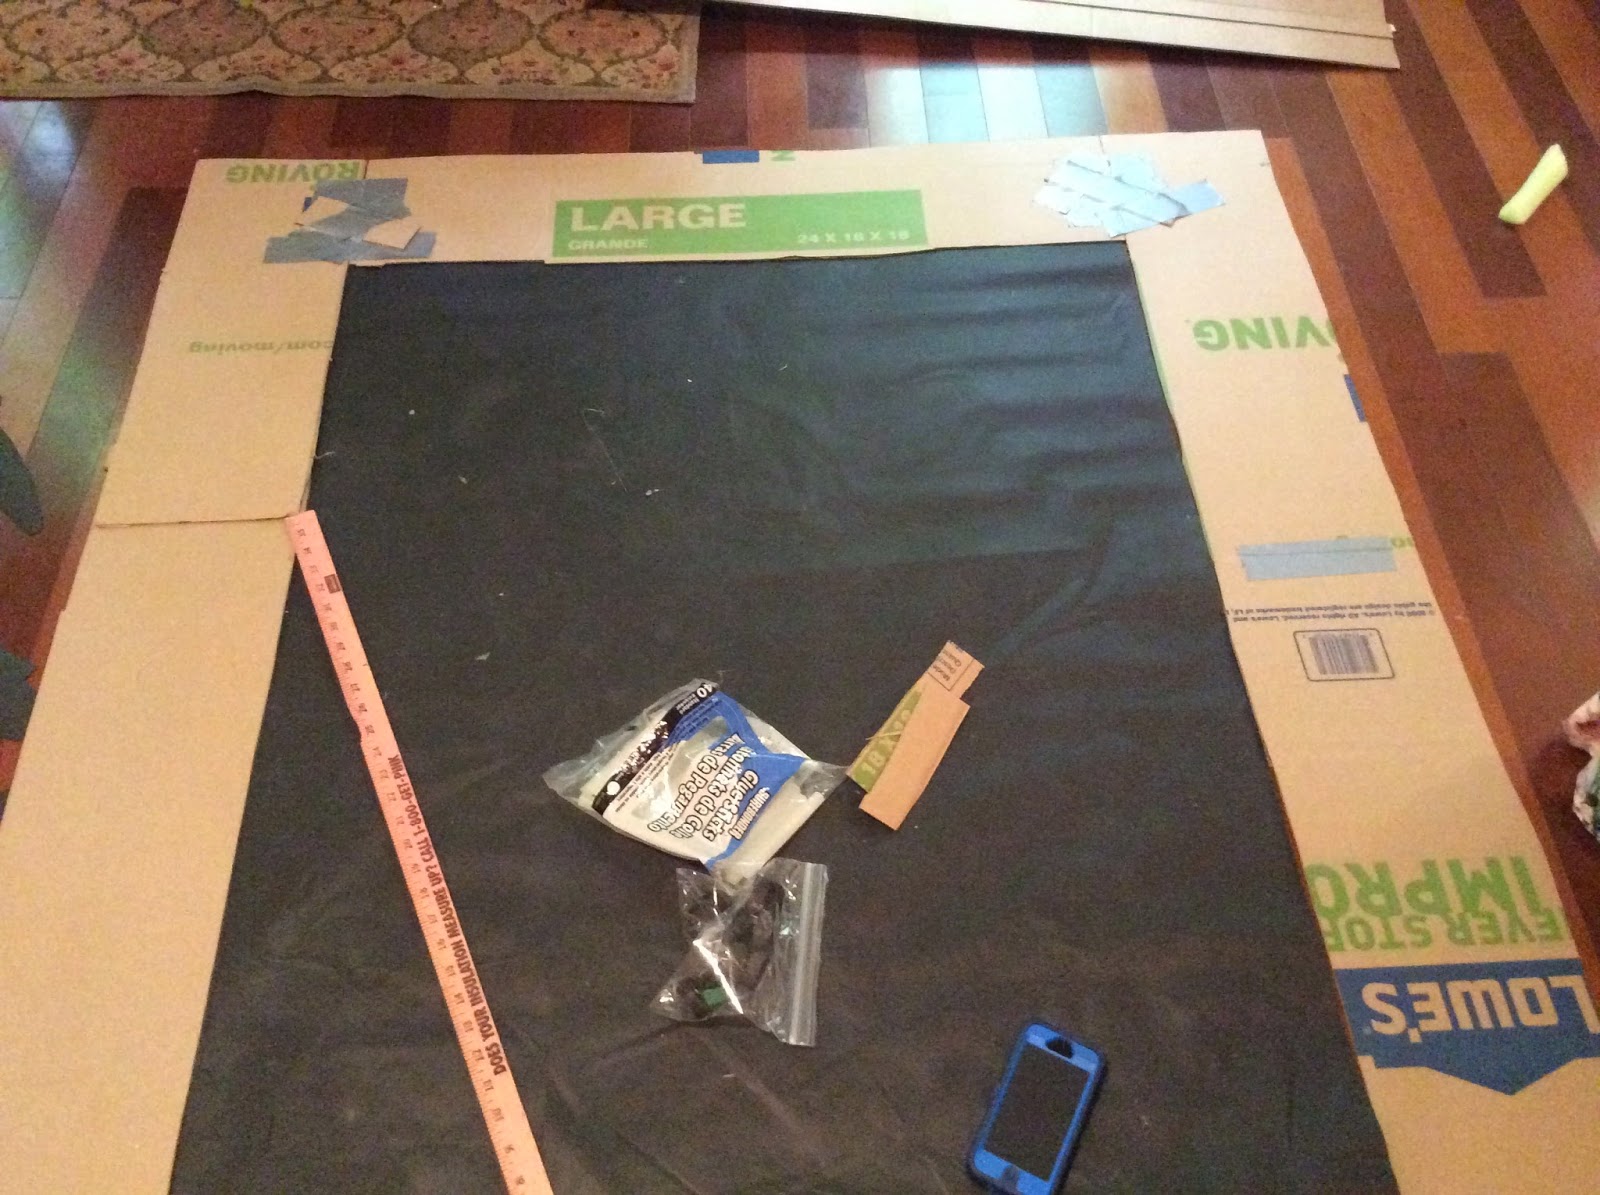
These desk pencil holders were so easy and everything except the inkpads were included. Wait....I did need to include markers to color the magnifying lens, and glue sticks. Did you know that if you take a marker and draw it on your finger pad (I don't know a better word for that. Yikes!!) then you can make a colorful fingerprint on your paper?! I've been teaching for years and never even thought about that. However, I did have to make a rule that they could only color on 1 finger and they were also limited to how many colors they could choose. You also need some baby wipes handy to clean off fingers. Ok....more about the holder.... The focus verse of scripture was on the pattern. I loved it. The day we did these happened to be Wear Your Favorite Shades Day, so some of the kids used the holder as a sunglasses holder. Then, we started brainstorming other ways to use it. I love it when kids come up with great ideas on their own!!
Now for the Food!!
Everyday about 15 minutes before we would go back to Worship Rally to dismiss, we had an Agency D3 snack. I LOVE buying the snack rotation cards from Lifeway. They are only $4.99 and there are always some cute themed snacks to make. I do one of the really simple ones on the 1st day. If any kiddo has an allergy to anything, I contact the parents and ask them what the child can eat and I make sure there is something that child can eat. Most of the time, the parent will bring something to me that his/her child can eat.
Here is what we had for snacktime this week:
"Hot on the Trail" mix:
This is the best pic I have of this snack. We put out the various items for the mix in small bowls. The awesome children would scoop what they wanted into their cup. For the M&M's, we limited them to 2 teaspoons, and then when every one got what they wanted, we allowed them to get more if they wanted more. I really should have started these off in baggies instead of cups.....I'll know better next year!! BTW: there is always some sort of trail mix we can do for VBS....easy!!

"I Spy" Cupcakes:
 
I made Betty Crocker cupcakes and bought Funfetti frosting. My leaders bought topping items, like gummy bears, animal crackers, smarties and sour gummy worms. The kiddos frosted their own cupcake and then put their own toppings on them. Then, before they ate them, they had to play "I Spy" using the toppings on each other's cupcake. Then, they got to eat them. I know this was a major sugar fest, but it was FUN!!
Secret Message Gelatin Cups:
                                                  
Let me just be truthful here....this took more preparation time, but I was surprised at the number of kids who loved it and enjoyed the secret message underneath the cup. 
Here's what you do: You prepare the Jello just like the package directions. I used strawberry and blue raspberry. You pour the Jello into a clear plastic punch cup and allow it to gel overnight. Then, you create some type of secret message on paper. Cut the message to fit underneath the cup where you can see it looking through the Jello. Right before serving and you don't want the nosy curious kiddos to see you do this, cover the top of each gelatin cup with whipped cream and sprinkles. Looking at the cup above, you can tell we prepared the topping a little too soon and it started to melt. To make 33 cups of this snack, it only took 1 can of whipped cream.
Then, you tell the secret agents that they have a mission and if they choose to complete it, they will discover a secret message at the bottom of their cup. These 2nd graders loved it!!
Here is a pic of an almost eaten cup of Jello snack with the message being revealed. You can click the pic and it will take you to the secret messages I typed. They are on a label template but I just printed on regular paper. Then I cut to fite and taped them underneath the cup using transparent tape. 

https://docs.google.com/file/d/0Bw0zFhhGUdd6V2JydHJVUnNUa2c/edit
Drumroll please!! For the last day, we celebrated for completing a week with Agency D3 by having: Undercover Tacos
Laser Beam Kabobs
Ultra Violet Fizzies
Like I have said on an earlier post, I would not be able to do all of this without the help of my fabulous helpers. 
Now, if you have never had tacos like these, you are missing out. You take a bag of Doritos, crush them in the bag with your hands. Open the bag and place 2-3 tspns. of taco filling (any way you like to prepare it) and any type of taco topping you enjoy. We used lettuce, cheese, sour cream, and taco sauce. Then you just eat all of this from the bag. I'm telling you, kids LOVE this. Some may turn up their noses be reluctant to try them at first, but when they see other children eating and enjoying it, then they want to try it, too.
For the Lazer Beam Fruit Kabobs the kids took a skewer....yes adult supervision is definitely needed...and they built a fruit kabob using strawberries, grapes, blueberries, and marshmallows (I had a bag left over from the trail mix). I would recommend using shorter skewers, we just didn't have time to look for shorter ones. This child went a little overboard really enjoyed creating his Lazer Beam!

Now for the Ultra Violet Fizzies. You locate ice cube trays and mix up blue and red drink mix (make sure you add the sugar). Pour enough into the ice cube trays, so that when it is frozen each child will get 1 blue and 1 red ice cube. Once the cubes are frozen and you are ready to serve, give each child 1 red and 1 blue ice cube in a clear plastic cup. Then, pour lemon lime (aka Sprite) soda in the cup. Voila!! The drink turns a light color of purple!!
This is the best pic I had to show the Fizzies before the drink was added. 

On the last day of VBS, my leaders and I came up with 5 rotations that the kids would complete in 30 minutes. Yes, the rotations were very quick, but after I teach the Bible story lesson for the last day, there isn't a lot of time left. 
Speaking of the Bible stories, the start up activities and the Live It activities for each story with Agency D3 were wonderful!! Since I teach 2nd graders, we use the 1st-2nd grade leader guide. Each day the kiddos were so excited about the games, and they loved the evidence we revealed about Jesus being more than just a man and all the other truths about Him. These lessons were also a great way to remind the children that the Bible is not a story book but that it is the truth!! (ok----enough preaching on my part!)
I put the special agents in 5 groups and each group would have 5-6 minutes to complete a mission before going to the next rotation. 

To finish up this post, I want to let you know about the rotations we did for that day:
Click this first pic and you can get a PDF of all of the signs for these Agency D3 Missions:
https://docs.google.com/file/d/0Bw0zFhhGUdd6WjFIeFI4c2thRms/edit
For Mission 1: We just set up yarn to look like laser beams, and a cover over chairs for a tunnel. BTW: they each had a baggy with their name and if they completed the mission, they got to choose a little favor of candy, sticker, etc. 
Here's a pic of mission 1:

These are hard to see, and yes we should have used red yarn, but you get the idea. That's the thing about kids when you set something up this easy and not perfect, they still love it!!

Mission 2: D3 Decoding
I made QR Codes that revealed questions about the things we learned throughout the week. My helpers and I put out our devices such as our Iphones, and Ipads on the table. The kids used our QR code apps....the ones that can scan QR codes.....and it would reveal the question. I had the kids answer at least 2 of the questions before their mission was completed to get the prize.
Click the first pic below and you can get the QR Code Posters to use:

https://docs.google.com/file/d/0Bw0zFhhGUdd6VVYyMTJIalFRQm8/edit

Mission 2: Face Off Frenzy
We took pics of the kiddos. I had them developed. Then, using the frames from Lifeway, the kids founds their own pic, put it in the frame. Then, a teacher helped them make 3 fingerprints around the frame. Next, they took a label I had made of the focus verse (1 Peter 3:15) and placed it on the back.
Click the pic below and you can get a copy of the labels I used. The type of labels and template I used were Avery 18663 2 x 4 inch shipping labels. I didn't type the reference because the reference was on the logo on the front of the frame.
https://docs.google.com/file/d/0Bw0zFhhGUdd6ZjY2RjBvcnI0Njg/edit


Mission 4: Foot Print Frenzy
My helpers came up with this game. They took footprints and wrote numbers on the footprints that were significant to our lessons for this week. Example: 5,000 (people Jesus fed) 3 (how many loaves of bread, how many days Jesus was in the tomb), 2 (fish), 3,000 (how many people were saved the day Peter preached), etc. They would write the same number on 2 -3 footprints, so we wouldn't have so many kids trying to get on 1 foot. BTW- the footprints were taped to the floor.
The kids started on a blank foot print, and a helper would call out a hint: For instance, "The number of loaves the boy had when Jesus fed the people. " Then, the kids would go to a footprint that matched that number. Easy, right?!? The kids loved it!!
Here is how the whole Footprint Frenzy floor looked.

Ok now for Mission 5.........Spy and Seek. I think this was the kid's favorite of all of the rotations!!
I don't have a good pic for this because it was dark, so I'll try to explain as best as I can. 
My adult teacher and her sons set up about 5 hiding places in a room where a child could run from 1 hiding place to another. Like behind a bookshelf, or a mobile dry erase board, about 3 chairs that are covered with cloth to look like a big rock that they could hide behind. Then, she had a light that would rotate on the floor with the light on spinning around. She placed a part of the Bible verse in a bowl at each hiding place, and as a child made it from one hiding place to another, he/she would grab a part of the verse from the bowl. The object of the game was to try to get from 1 hiding place to another without the light shining on him/her as it would rotate. Then, once he/she got all of the parts of the verse, the kiddo would sit outside the room and put the verse together. 
Click the pic below to get a copy of the verse to cut apart and use for the Spy and Seek game. 
https://docs.google.com/file/d/0Bw0zFhhGUdd6Ni1mUEtUWm5heUE/edit


Well my mission is accomplished!! I wanted to get this post out as quickly as I could so I could help as many field agents as possible. Please let me know if any of this post helped you. I would love to hear from you! If you have any questions about any of it, I am here to serve YOU!!
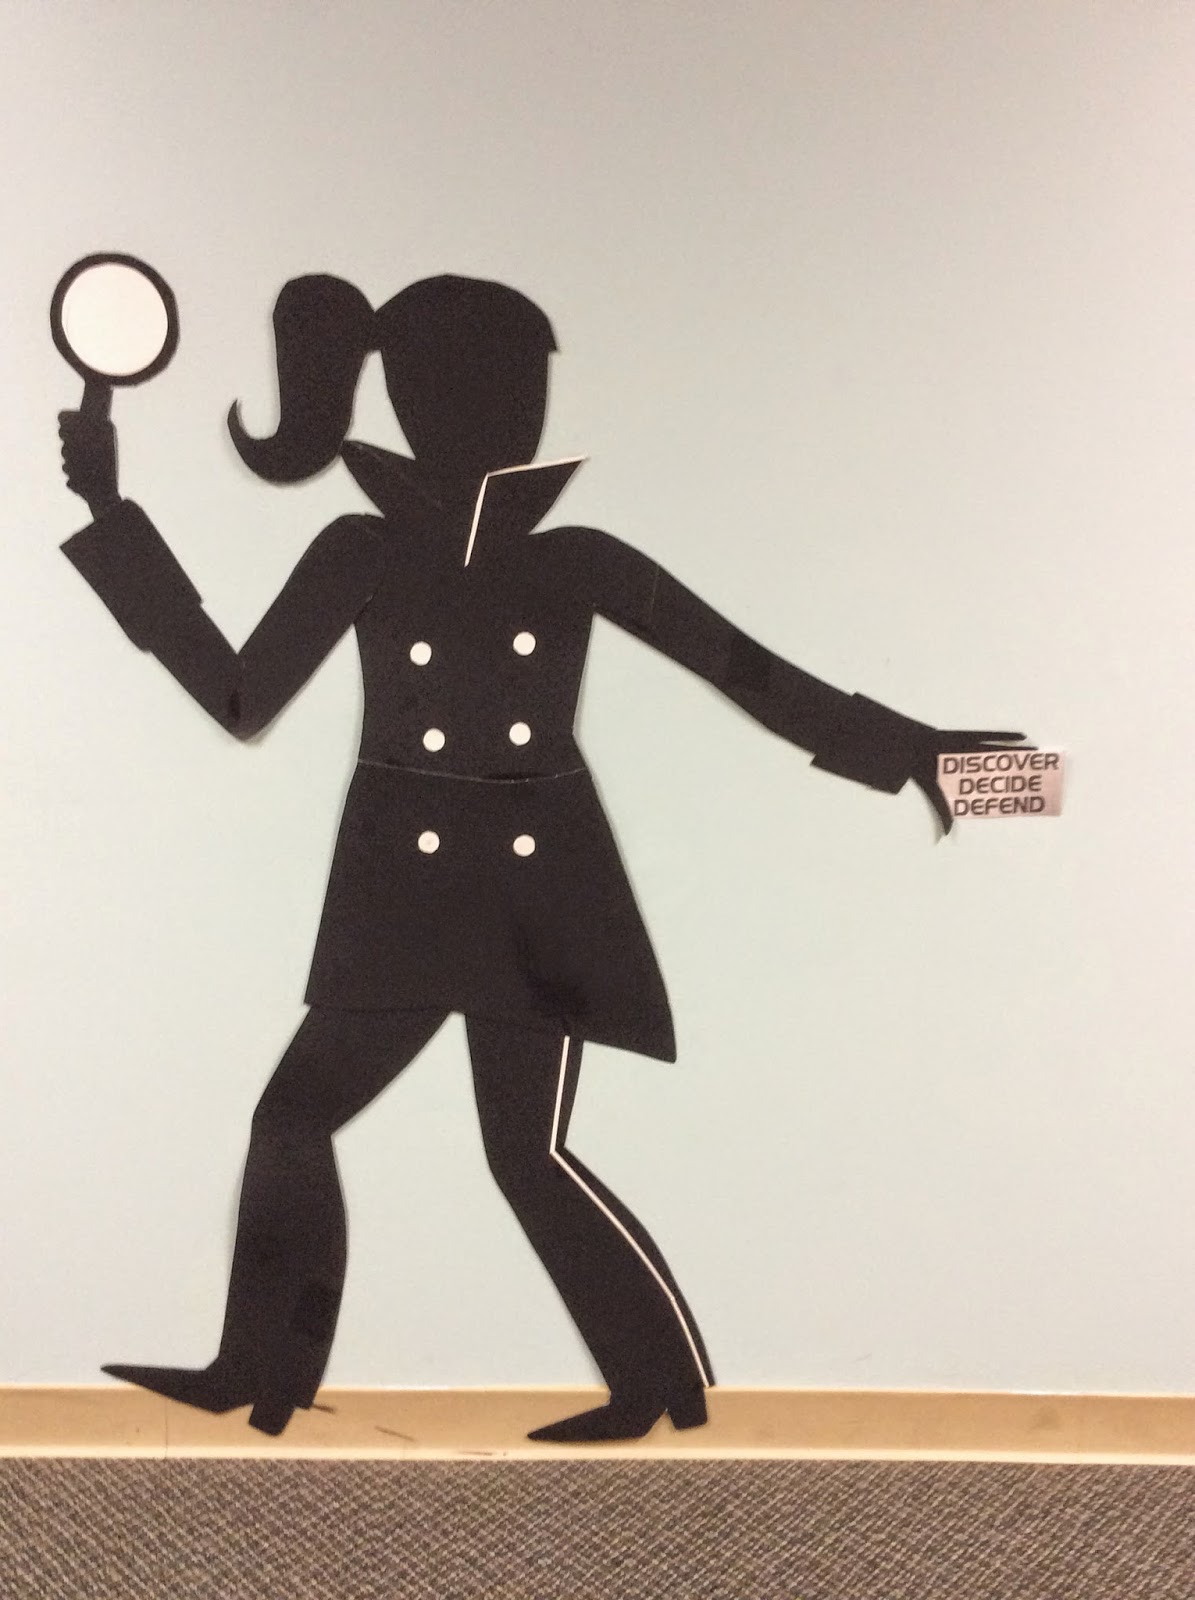
Hope your little special agent kiddos have a great time as they discover, decide and defend about Jesus!! God bless you!!
Linda G.


Thursday, June 19, 2014

Agency D3 VBS 2014 Done!! More Decorating Ideas to help!!

Well right now, I have the theme song from this year's VBS in my head and I just can't get it out!! It will probably be stuck there for a couple of days now that we finished up Agency D3 VBS 2014. I wanted to post some of things we did this week. I'm really wanting to help those of you who haven't had your VBS this summer and you are still filling in some gaps that you have with your decorations and/or activities. I hope this post today will help you!! I'll post about some of the activities tomorrow.

I came into this Agency D3 theme really feeling reluctant about it. Thinking...."How am I going to make this all work?" I'm not really a secret agent kind of girl. However, I had my confidence in the Lord and knew that Lifeway really puts out some top quality material, so as I DISCOVERED more about it and DECIDED to get with it and try to make it great for my 2nd grade, I was able to learn more about how to DEFEND my faith!! Everyday truly blessed my heart and it was a lot of fun!

Now to the decorations!! I believe that the decorations make the area more inviting for the kids. The decor gets the kids excited! Not only are the decorations there to spruce things up, I decide how to use them to help us with the organization of our class.
Our group is fortunate enough to have a hall where almost anything we hang on it looks inviting. I posted this pic last week, but here it is again:
My post from last week describes how my husband created the vault door and the silhouettes. Now, another reason I use these is to place a sign above each one with the area the kids are going to after our Bible story and activity time. When I call out their names and their place to go, they know to line up in front of the correct silhouette. Here is a pic of that:
 These kiddos are ready to go to art!
 These kiddos are waiting patiently for someone to take them to volleyball.
Notice the child trying to pose like the silhouette! We saw many kids doing that a lot this week.


Now for the inside of the room. We were planning for around 50 special agents to enter our classroom (we actually ended up only having between 31-33 wonderful kiddos through the week). It is a HUGE space that gives us an area for Bible study, 4 areas to break out in small groups, and the center area is used for special snack time and our craft time.

We hung different colored manilla folders with the clip art from the Decorating Made Easy Book. glued on them. You can get the manilla folders for $4.67 at Walmart. For our 4 small groups, we made foot prints in 4 different colors and grouped the kiddos by color groups. We connected the footprints with black footprints inbetween the colored ones.
We just covered the bulletin boards in black, so that way we didn't have to remove what was already on them from Sunday School. I had posters made at Staples from the Lifeway clip art. I just stapled them on and one of my leaders put the footprints you can purchase from Lifeway underneath them. BTW- the posters along the middle of the wall are from Sunday School so those remained up on the wall. Notice that we used banker boxes for our supply boxes when we were in small groups.

Here is a close up of the files. I would share the clip art for them, but that is copyrighted by Lifeway.

OK now I bet you are wondering how we did the Agency D3 backdrop. Well...... we took 5 sheets of gray butcher paper (that was as many sheets as we needed to cover that side of the wall in our room) and measured it to match the height of the wall. Before we began drawing, we turned the panels face down, then, we lined the panels up side by side and overlapped them slightly. We taped the seams with masking tape. After we taped the seams on all 5 panels. We turned over this HUGE piece and using glue sticks, we glued the seam down on the front. It is REALLY easy to do this. We had about 5 people helping us and we were able to do this part in about 30 minutes. Once the panels became one big canvas, we began sketching out the design.

Click this pic to get the sketching part of the background pic. You can sketch beginning from any panel.
https://docs.google.com/file/d/0Bw0zFhhGUdd6OGpFVnNYLWl1Njg/edit

Here are a few pics of my awesome group of leaders helping with the painting. I bet you are wondering how long this all took. We sketched it all with pencils, the Friday before VBS began and it took us a couple of hours. We came back on Saturday morning and there were about 5-6 of us (2 of these people were 9 and 10 year olds) painting it (...by the way.....we used white tempera paint with foam brushes and art type paint brushes.......) and we were done in less than 1 hour. The time spent was worth it and we had great fun!!.....we REALLY did!!


 When we sketched using the pencils, we just kept thinking in geometric shapes and lines. The above pic, you can see the seam of the panel.

On the opposite corner of the painted backdrop, we just hung gray butcher paper and one of my team leaders taped the posters that were going to be used during the week:
This is my precious....grabs my heart all the time.....granddaughter. The hat is from Party City 99 cents. Well worth the price!! :)
You may have noticed that we trim our large windows (I love these windows) with gray paper and black dots to just continue with that vault look theme.

Whew!! I'm just exhausted explaining all of this, but it really didn't take that long to make this work. It was well worth the effort and the kids loved it!!
 
I don't want to end this post without showing you the awesome pics of what my husband did for the entrance to our worship rally part at our church. He incorporated the silhouettes (these were all made from black butcher paper) in that area. He made a spy type entrance way, and please check out the security checkpoint!! These items were all made from a box,  PVC pipes and pool noodles. BTW- Lowes and Dollar Tree adore my husband!! :) We had the banner made at Staples.With all the posters and the banner we had made, Staples loves to see me enter their store as well!! :)


Ok I have ONE more thing to share.....I know this is almost too much blogging for 1 person to enjoy; however.......I've mentioned before how much I enjoy using Mavalous tape. I'm telling you this is the tape to use to make sure your "stuff" on the walls stay and you don't mess up the walls. Well....my fearless leaders gave me a gift today:
They gave me 2 rolls of Mavalus tape(these were $3.99 each...one package still had the price tag on it. LOL) and from my favorite coffee place EVER.....a Dunkin Donuts
gift card!! That meant so much to me, but then I opened the card and this is what I saw:
I could in no way in the whole wide world do VBS the way I do it without my 3 teachers and their children who help us all week as well. Of course, my husband does soooooo much as well. So to end this post, I have to show a pic of my VBS buds as I lovingly call them. I hope you have some VBS buds to help you as well!!


Saturday, June 7, 2014

Agency D3 Vacation Bible School 2014

For a few years now I have been leading our 2nd graders during our VBS week. I have a few wonderful friends who help and some teen kids help us, too!! Well, I consider this time as ministry in my church and I love to try to make it all as inviting as possible. I'm thankful for my terrific husband, Dan who helps me with the decorations. The picture above is what he came up with to decorate our hall. So keep looking so you can see pictures of how the door was completed. 

First of all, let me say that my living room always becomes a work room a couple of months before VBS. Which is ok....I'm just so thankful that my husband can help like this so I don't mind. As you can see he takes flat large moving box from Lowes and cuts it the dimensions that fit the outline of our doors in our children's area at church. The black paper is just there for protection. He says that the boxes are under $2. He uses a utility knife to cut it.
 
Next step: It is AMAZING what you can do with pool noodles($1each at Dollar Tree). He used a total of 8 pool noodles to create the vault look on the door. Here's how: He cut 2 pool noodles long ways into four pieces and hot glued them to the inside part of the cardboard. Next, he cut a slit all the way down the pool noodles and slid them onto the outside edge of the cardboard. No gluing was needed here. For the corners of the vault doors, he bent the pool noodle and cut a notch out of the back. Then he used 3 strips of Gorilla tape (best tape ever!!) to hold the corner shape. Finally, he hot glued soft drink plastic bottle caps to look like bolts on a vault.
For this nifty vault handle, Dan took 2 paper plates(Chinet round type- not Styrofoam-those will not spray paint well!!) and cut six pieces from a pool noodle that was cut in half. They were about 10 inches long. He glued them onto the paper plate and then glued another plate on top. Next, he spray painted it all silver.
  
Once Dan completed the vault door, he spray painted the entire thing with silver. It took about a can and 1/2 to spray paint. He used Rustoleum Aluminum Color Spray paint. Now it is ready to take to the church and put up on a door!! I was so excited!! Don't I have an awesome husband to do all this for me!!

Now, here is a finished look except without the vault handle. Dan and I covered the door with gray butcher paper. We have lots of this right now at church, because of the VBS theme. I hope to blog soon about how I cover a door with paper. It is not that easy, and I want it to last all week, so I really do this carefully!! Then, once Dan got the outside vault part in the building......it was light weight, just a little cumbersome......he put Mavalous tape (I've noticed that this is called Dorm Tape at Hobby Lobby. It is expensive, but if you can't hot glue stuff on walls and you don't want to mess up your walls OR if you don't want to keep rehanging your stuff because it doesn't stay up, this is the tape you need!! I have used this for at least 4 years for VBS and for school. It really does what it says!!) all on the back side and just stuck it right on there. Now, he did this last night and when we came back this morning to finish up, it was all still up and intact.  YAY!! This morning, he taped the vault handles on. By the way, he made 3 doors like this. So we have our vault Bible study room ready!!

I absolutely love these silhouettes. My husband....have I told you how wonderful he is??......saw these in Oriental Trading. Now mind you, I order from Oriental Trading all the time since I'm a school teacher, but these were really expensive and it only came with 2. I knew we needed more than that to make the hall look really cool!! Being the artist that he is, he was able to free hand these on butcher paper and put his own extras on them to create them. To make them sturdier, he actually bought some black poster board and used the butcher paper silhouette as a tracer and pieced them together.
Above this side of the hall, he has kind of a mission impossible type fuse with the words Discover, Decide, and Defend. I love the way it turned out.
Click HERE to get the PDF file of the Evidence Posters for the briefcases

On each brief case, I posted a poster that describes the evidence and Biblical Truth learned for each day. Click on the silhouette above and get a FREE PDF file of these posters. They are 8 1/2 by 11.
For this secret agent, we just have some clip art posted of the words Discover, Decide, Defend. I love these halls, and I think the 2nd grade kiddos are going to get so excited about Vacation Bible School when they arrive tomorrow at church!! I'm getting super excited as well.
Here is the look on the blue hall side (this was before we put the posters on the brief cases and hands)......I just want to hum the Mission Impossible theme when I look at all of this!
To me, this year is more difficult to find ideas to decorate. Therefore, I wanted to get this post up before it was too late. I hope it helped you with your ideas!! Please let me know how your VBS went!! God bless you!!